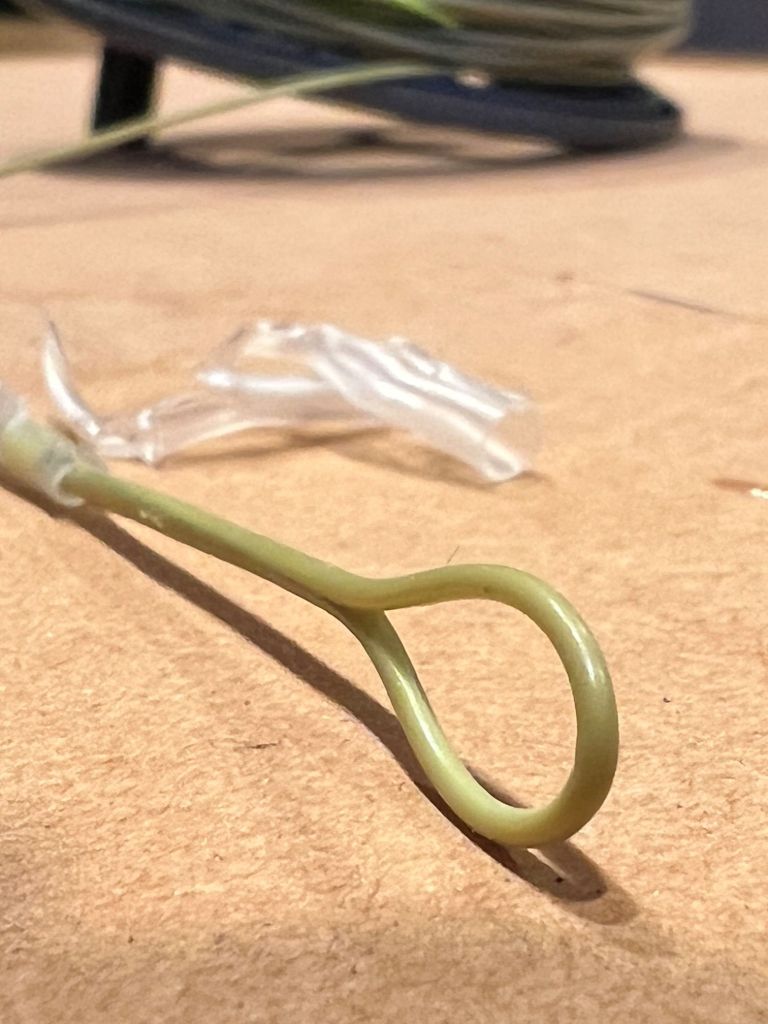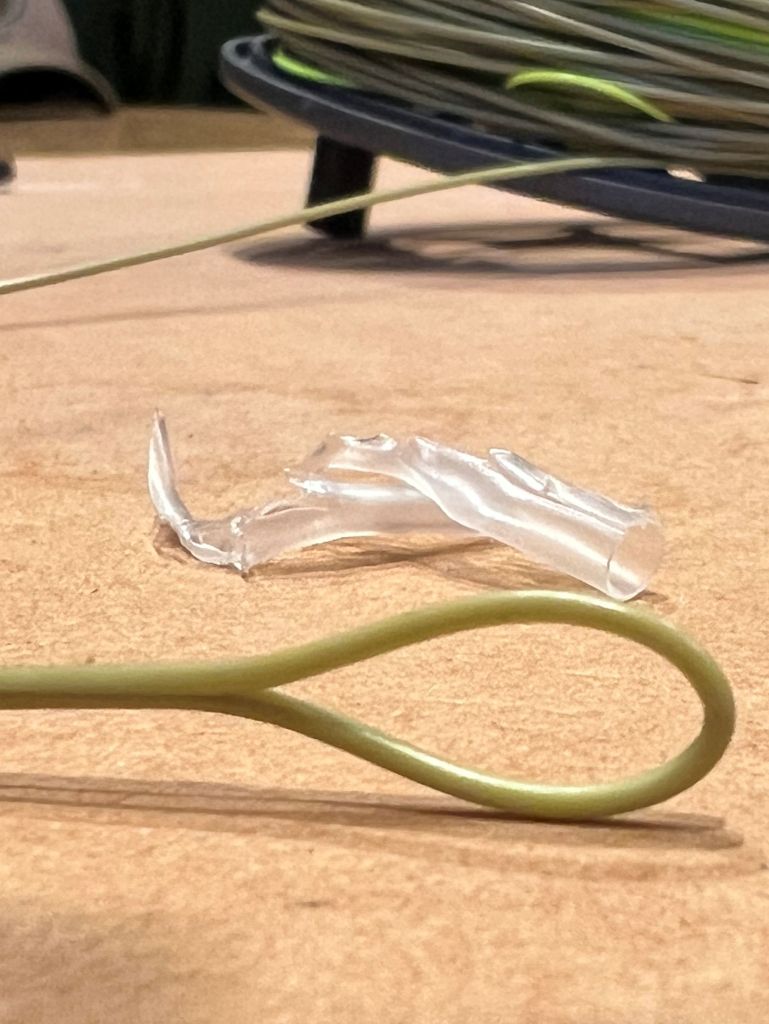
The welded loop. You know – that clever little loop in the end of your fly line that makes it effortless to add a leader.
They’re incredibly strong considering the materials they’re made from. (Whilst there are all sorts of innovative profiles and weight distributions, they really come down to some modified plastic over a Dacron core.)
Mine had suffered a break in the outer layer of the line above the loop, leading it to act a little odd in the cast, and not quite be as floaty as a floating line should be.
I’ve messed around with nail knots, but struggled to tie something decent, and braided loops, which work, but are very stiff. They also look pretty ugly no?
Some trusted advice mentioned it was easy to make a new ‘factory-like’ loop using electrical tube. I imagined some bright red plastic wrapped around the line!
But I revisited the idea recently, and the results are outstanding enough to write about. It was faster and easier to do than I imagined, and all done with just a candle, some small, sharp, pointed scissors, and heat shrink tube.
Speaking of tube, YouTube is often your friend in these situations. As I was unsure of the outcome, I didn’t film anything myself, but I do recommend watching both of the videos below to get a feel for what you’re about to do. I used elements of both – careful use of a flame in one, and procuring clear tube in the other.
“Ingredients”
- One fly line, without loop, and line end cut at a sharp angle.
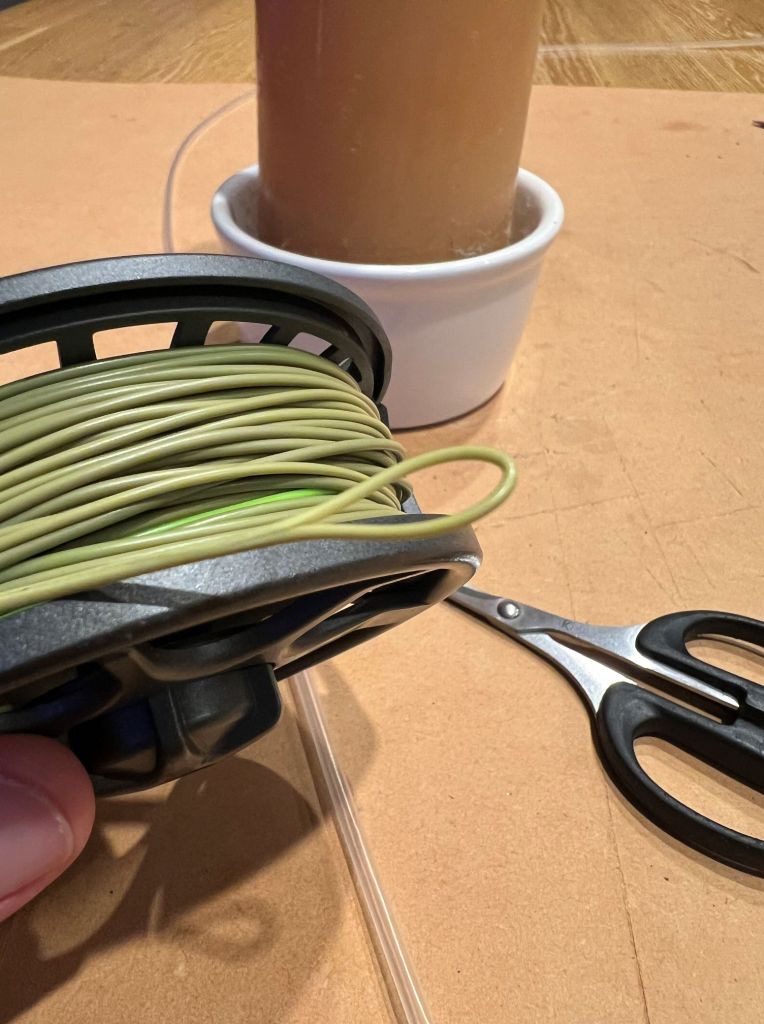
- Small, very sharp scissors (from your fishing vest or fly tying kit)
- Clear heat shrink tube. (I used 2.5mm tubing from Jaycar Electronics– at a whole $2.50 for a metre.)
- A heat source. Ideally a heat gun, but a candle does the trick
Method
Foolishly, I didn’t take photos on the way through, so again – watch those videos above. But here are a few tweaks and things I learned on the way through the process.
Firstly, the heat source. You don’t need much! Start lightly. Surprisingly little heat is required to make the weld, and overdoing it will only damage the line. A heat gun with a reducing nozzle is clearly best, but having to buy one would blow my $2.50 budget.
I discovered that an emergency candle in a stand worked well, though make sure you’re in a room without too much air movement so you get a nice straight flame. If you’re anything like I was, you’ll be holding your breath while heating to keep your breath from moving the flame!
I also saw an example of hair straighteners being used to briefly crimp the join. But on enquiring with my daughter about using hers, it was clear that any damage to them wasn’t worth it.
One thing I did borrow was my wife’s incredibly sharp small sewing scissors to cut the tube back off, which takes a little patience. They were much more effective than my fly tying snips, suggesting that some new ones may be in order.
Now this obviously isn’t a replacement for being able to tie a knot – useless if you’re in a back country hut without heatshrink tube, but it does promise to make fly lines last the distance.
At $2.50 to give a $150 fly line a new lease of life, it’s a bargain.
POST SCRIPT: The loop has now been tested on multiple missions and several decent fish. How’s it performing? Well, I don’t wish to brag, but…. just like a new one.
The small print. (aka: don’t blame me.)
Please do your own homework before trying this. For reference, my line was a Rio Grand floating line. Other lines may have different characteristics.