
A couple of years ago (yes, that time when we were stuck at home in our Covid bubbles) I decided that making my own flies might be a good idea. I ordered a basic tying kit online, some materials, and a plastic tub with compartments in which to keep everything.
But there was a problem; I wasn’t tying many flies.
The palaver of getting stuff out, arranging it and finding a spot to clamp the vice seemed just so damned inconvenient. I looked at a few ready-made options online, but considering what I was spending for so little return at the time, it wasn’t advisable. “How much do you think each fish is worth now?” was an increasingly common family phrase as I purchased the next piece of essential equipment.
So the DIY option it was.
I enjoy a small project, but the results often don’t match the vision in my head. The biggest worry with a station was neatly building the base box itself. No matter – I dived under the house for any materials that might suit.
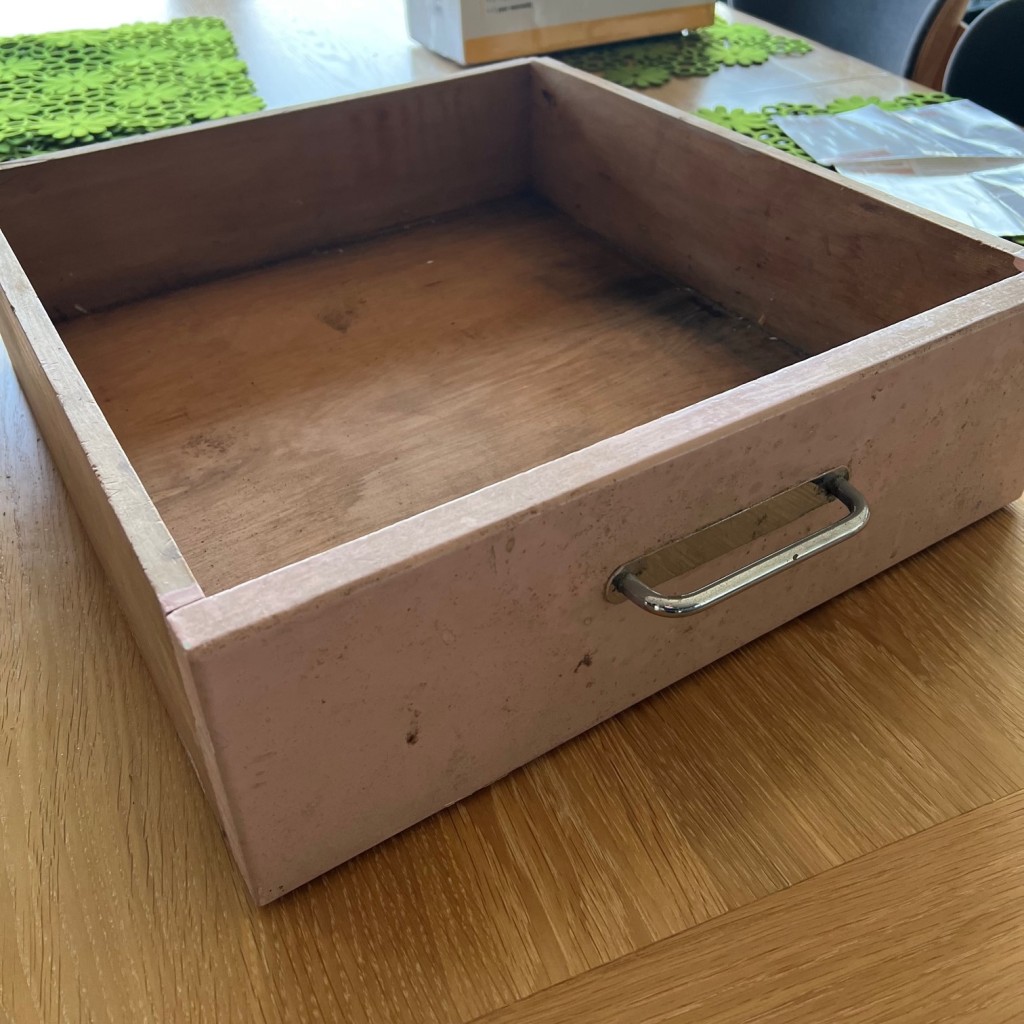
And there it was – a drawer from the original kitchen in our house – resplendent in typical 1950s salmon pink. No longer just a “do it yourself” project, but also an upcycling one. As a bonus, it was crafted from Rimu (a sought-after finely grained native timber, for readers not New Zealand natives of the human-kind). A couple of lengths of similar timber were also discovered, and the project began.
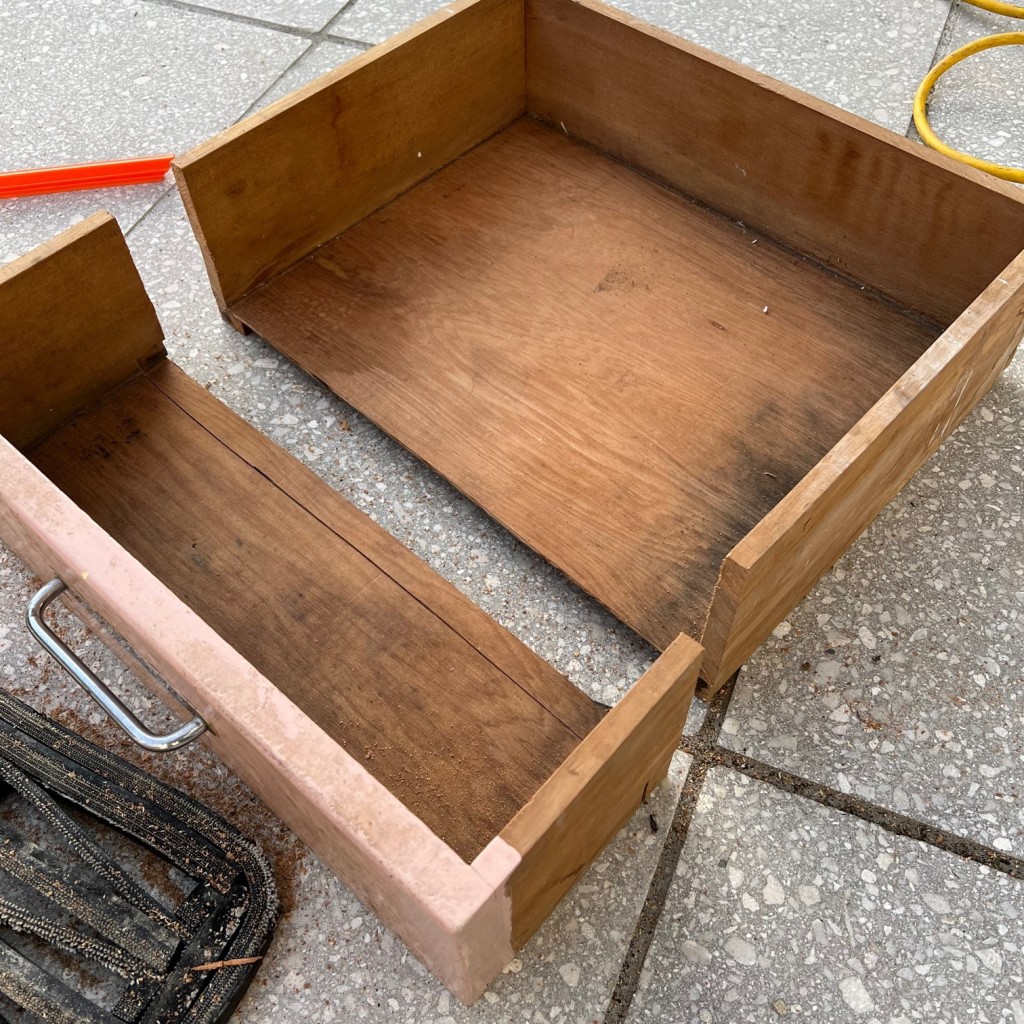
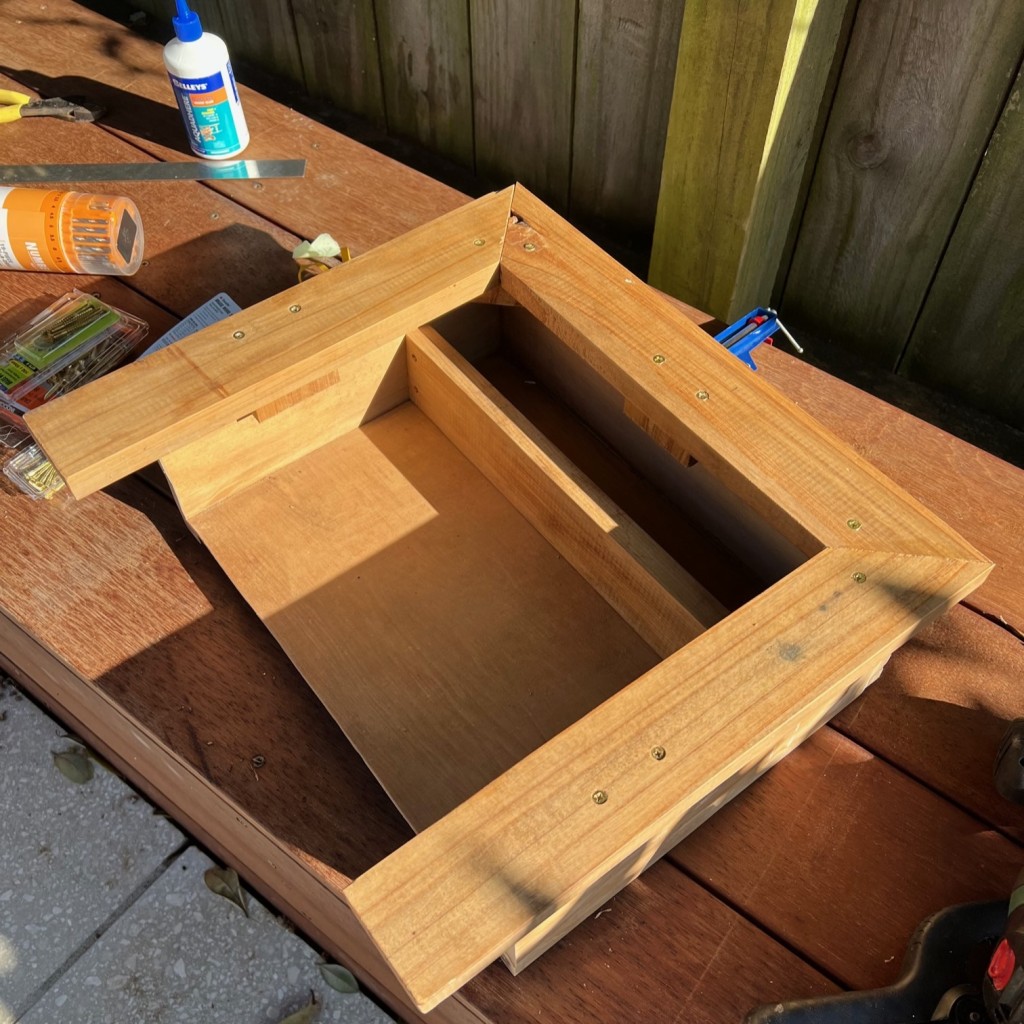
I won’t go through each step. Simply put, I cut the front off the drawer, added some timber on top, and voila! Here are a few things to consider before making a similar fly tying station yourself.
- Look online. Note the layout of similar projects, and imagine how you would like things laid out. Some of them are truly spectacular!
- Many examples have inset circles to hold various receptacles and glues, and foam or magnets to hold tied flies. I kept it simple, but you can be as fancy and technical as you like.
- Use what you have. For example, I used offcuts as blocks to support the arms to the drawer.
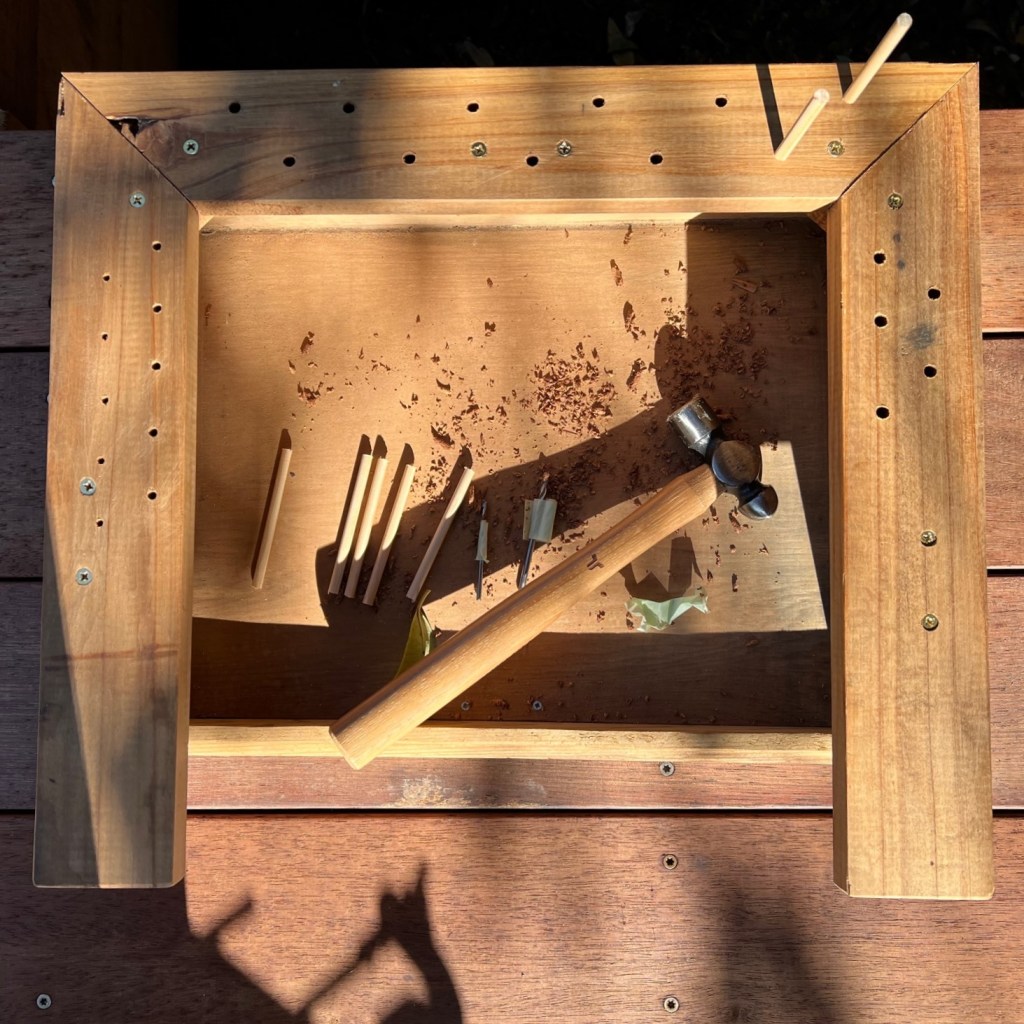
- Working with old, dry timber can be tricky as it has a tendency to split, so pre-drilling before screwing is a must.
- Make sure you overhang the arms enough to hold your vice!
- I got lucky with size in that it fits perfectly in a cupboard, completely ready to go as soon as it is “drawn” onto a table. Maybe it is better to measure your storage spot first 😉
The rain hit again this morning, and I’ve been watching the river flow online as it spikes beyond fishable levels – with wading needed to get to my favourite spots. Tying a few flies is the perfect way to get a fishing fix in anticipation of the next break in the weather.
Brilliant.


